Sunday, June 16, 2013

Red wood Bonsai forest #6

Hi everyone 
Today I was out riding my bike and was stopping by the local flower shop. Normally they do not have bonsai trees, but the owner had gotten around 20 - mostly Chinese Elms in poor quality.
At the back he had this little forest of Red wood. It is nothing special and is one of these mass produced forests you can find everywhere. 
The price was right and I thought I would make some out of it. It will for sure not be a pretty bonsai forest for the next 5-10 years (...at least!)
It has different "mistakes" but with time I can maybe fix them... we will see.

Next spring I will probably repot the forest. Take all the trees up individually and "re-place" them into a new big training pot. They fore sure need a repositioning as they are planted very flat and no depth are really existing in this oval very narrow pot. I am not sure if the new composition will be with all 9 trees or only 7.
This summer I might place the trees as they are in a bigger pot(without cutting the roots), as the trees are in very bad soil and should have been repotted a couple of years ago.
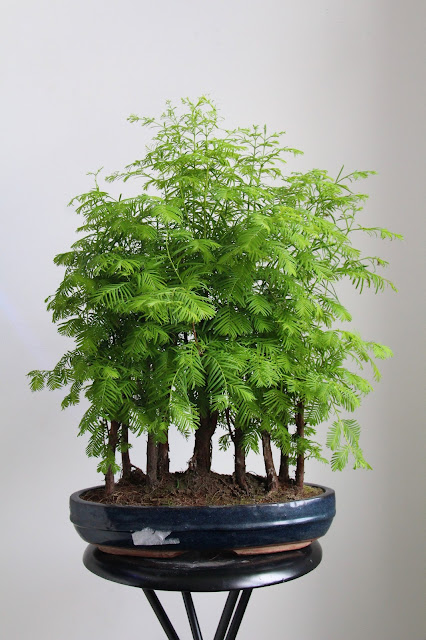
The tree as I bought it.
Nine little trees placed more or less a bit random in the pot.

Close up of the trees. 

A view from below and up.


The main trunk are dead from 4/5 and up, so a new trunk from one of the lower  branches needs to be made.
I did not see this when I bought the tree.
This will maybe look funny in the final design, so I might remove the main tree and only keep 7.

A inspiration picture on how the design could end up looking like in 10 years from now.

Monday, June 3, 2013

Juniper Shimpaku shohin #5

Dear all. 
This little Juniper Shimpaku I bought online at www.bonsaifocus.com in 2010. It is a nice little tree with a twisted trunk. The tree is approx. 16cm tall. 
In early spring 2011 I styled the tree and did a shari on the trunk. To be honest I was not so happy with the styling and the end result but I left it to gain more strength. A few month later some of the branches had died back and others had grown stronger. 

In 2012 I cleaned up some of the dead branches and planted it in a bigger training pot to gain more strength before I could start working on it again. 

Later this summer I might start working on the shari and jins and do a light trimming of the tree. Below I have posted pictures of the tree after this first styling ( yes - it is terrible I know!) and how the tree looks today - very healthy! I have also attached an inspirational picture of how I would like to shape the pads and apex. in the future.

Cant wait to start working on this litlte shohin.  

Tree as it looks today - Very healthy!
Tree after its first styling - had no clue on how it would end up looking like!

Inspirational picture of how I would like the pads to develop.


Larch #4

Dear all,
Approx 2 years ago I dug up at small larch in the forrest nearby my parents place. The little tree did not look of much but I thought I could make something out of it. The tree was about 1,3 meters tall and very slim. I was thinking to shorten the tree and use a side branch as the new top. 
Below I have just added a few pictures of the tree, what I have done so far and a couple of inspirational pictures of the direction I would like to develop this tree into..... 
This little tree still have a long way to go before it becomes a beautiful bunji style tree and time will tell how the final result will be. It is still very very young.
Unfortunately I do not have a picture of the tree when it was just brought home. 

The tree in its training pot in April 2013. I repotted the tree for a more leaning angle to the right.
I have marked with orange lines where the trunk originally was placed.
I removed it completely and wired a side branch as the new top.
I created a few jins from the branches that I removed.


Here are the tree a couple of weeks ago. 
It looked very healthy and I decided to do a bit of light styling on it. 
The jin and the scare where I had cut of the main trunk I was not so happy with 
and you can clearly see where it was removed. 
I decided to clean it up and hopefully the wound will close up within the next year or 2. 
It also gives a more smooth transition between the trunk and the new top.  

Here are the picture of the light styles tree.
The main branch at the top I have left to grow  long to thicken up the trunk.
At a later state - maybe within the next 2 years or so the branch will be shortened a lot.
A new apex will be created with one of the other branches at the top.
Below I have posted some inspirational pictures of what style the tree might ends up looking like in some years from now.


All the best
Kenneth

Sunday, June 2, 2013

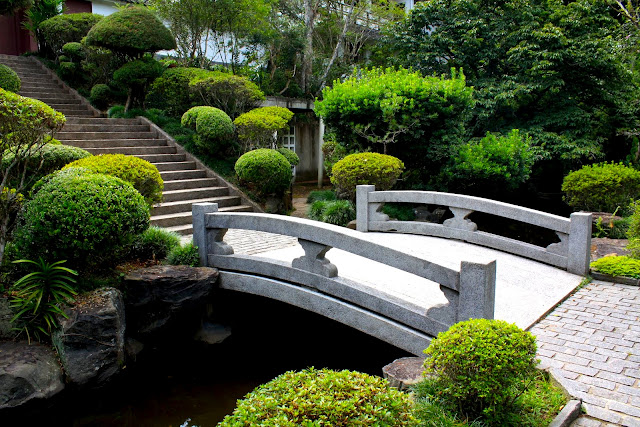
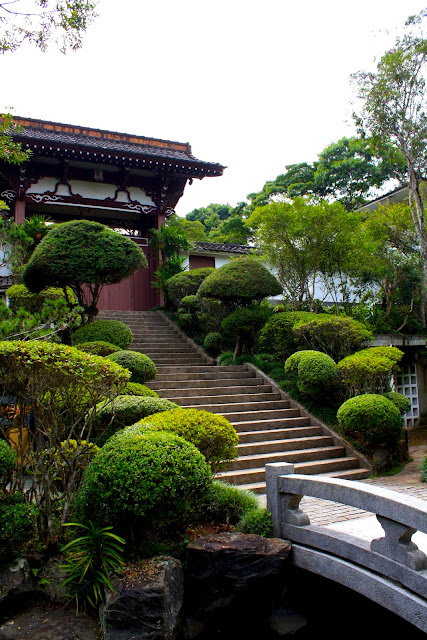
Japanese Cemetery Sao Paulo Brasil

I was visiting Brasil a couple of years ago, and we went to the Japanese Cemetery outside Sao Paulo. Took a few pictures of the place. 
It is a very nice cemetery but very hidden in the jungle and a bit difficult to get there with the car as the roads are not that good - But still an amazing trip outside the busy Sao Paulo as we saw a lot of wildlife on the way. 


Not Bonsai but just as beautiful and peaceful!

Dear all 
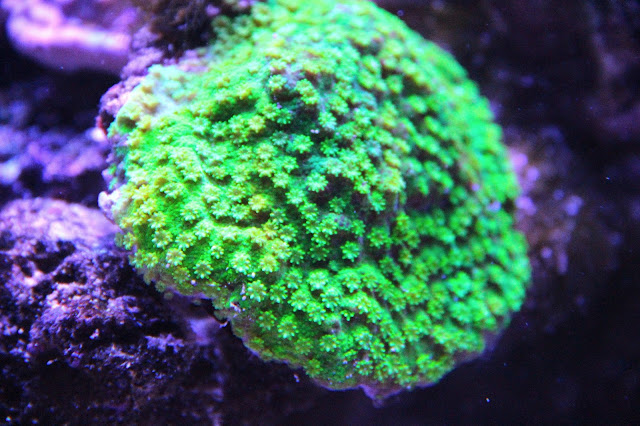
Bonsai is my great passion but I also have another hobby which gives me just as much peace in mind: Coral reef tank. 
I know it is not related to bonsai but I really appreciate the beauty of our coral reef tank. Today I took some pictures I wanted to share with you guys.
Please do not hesitate to contact me for any questions you might have.
All the best
Kenneth